Bulk Import Wizard
Bulk Import Wizard
The Bulk Import Wizard provides a guided, step-by-step process for importing large claim portfolios. It validates data, maps columns, and handles errors — so even non-technical team members can onboard a client portfolio.
Step-by-Step Process
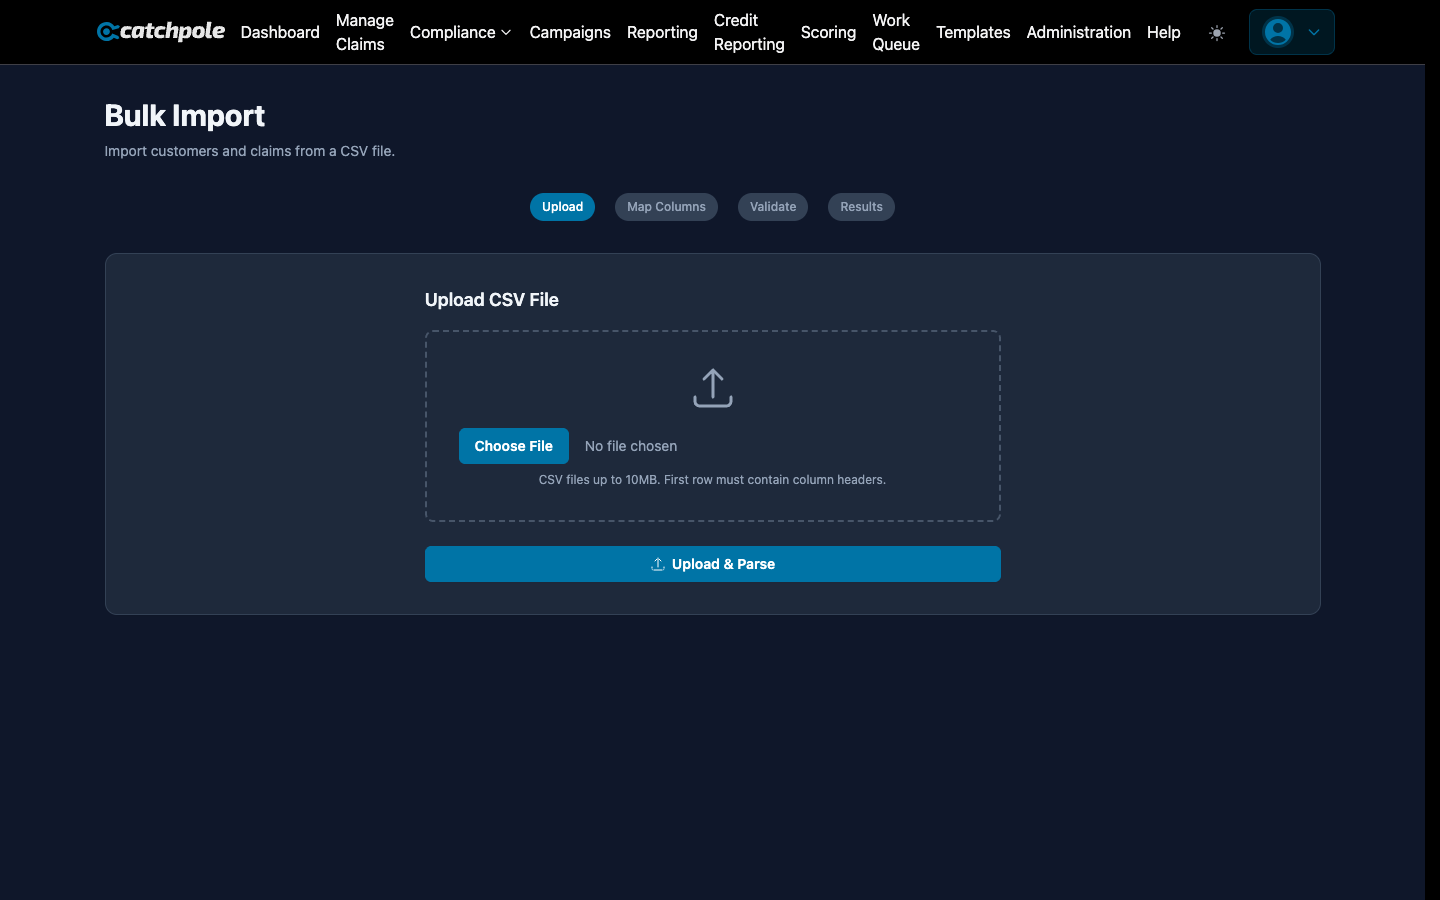
Step 1: Upload File
Upload your CSV file containing claims data. The wizard accepts standard CSV format with headers.
Step 2: Column Mapping
The wizard auto-detects common column names and lets you manually map any it doesn’t recognize:
- Customer name, email, phone, address
- Debt amount, original amount, due date
- Account/reference numbers
- Debt type and creditor information
Step 3: Validation
Before importing, the wizard validates every row:
- Required fields — ensures mandatory data is present
- Data formats — validates dates, amounts, phone numbers, emails
- Duplicates — detects duplicate records
- Errors — highlights problems with specific rows
Step 4: Review & Import
Review the validated data, fix any errors, and confirm the import.
Supported Data
- Customer information — name, address, phone, email, SSN, DOB
- Claim details — reference, amount, due date, type
- Creditor info — original creditor, product name
- Custom fields — up to 3 custom fields per claim
Error Handling
- Rows with errors are highlighted and can be corrected inline
- Valid rows can be imported while errors are fixed separately
- Download error reports for offline correction
- Re-upload corrected data
Best Practices
- Use the provided CSV template for fastest setup
- Clean your data before uploading (remove blank rows, standardize formats)
- Start with a small test batch before importing the full portfolio
- Verify column mapping carefully before confirming